Feeling muchly geniusish tonight. I know I must have read this tip for taming gathers somewhere before—I’m pretty certain it didn’t just appear in my head, but even just remembering it and utilizing it is pretty darned smart.
So the problem with gathering, as anyone who sews can tell you, is that you go to all the trouble to get the gathers all nice and even, spreading them equally around the garment (in this case, a dress!), and when you go to do the actual stitching on them to anchor them in place they wiggle and woggle around on you. You end up with a skirt that is really poofy on one side and somewhat flat on the other.
Kind of takes the fun out of making a big poofy, twirly skirt.
What happens (for me, anyway) is that when you feed the gathers through the sewing machine, the flat part is usually to the bottom with the feed dogs and the bumpy part is against the sewing foot. The foot presses down because that’s what feet do, and it tends to squash the gathers out of its way. At this point, I usually stop, grumble, re-configure the remaining gathering and start sewing again, hoping for the best. Which of course, never occurs.
So I got to thinking tonight while working on the ruffle gathering for the dress I’m making for Laura that I needed some way to make the gathered part as smooth as the ungathered part.
And that’s when inspiration struck.
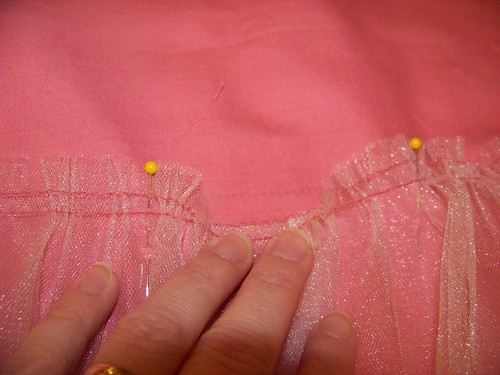
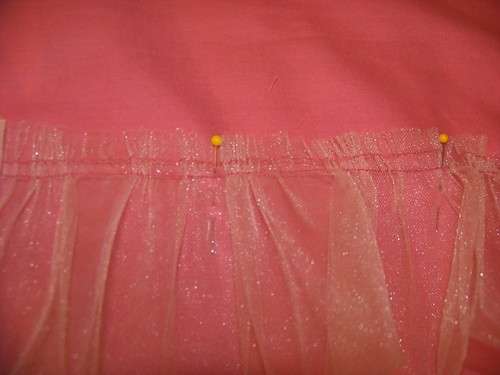
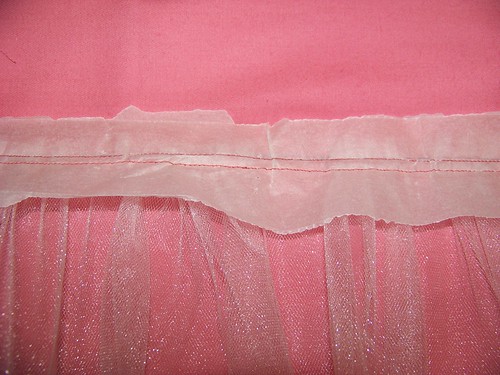
I began by gathering the tulle for the underskirt in the way I would gather most anything—two lines of stitching, about 1/8th of an inch apart and pulling the threads until it was the right size. I evenly distributed the gathers and pinned them into place on the underskirt along a line I had marked.
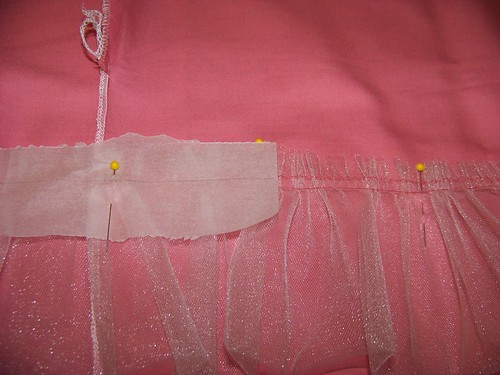
I next took some tracing paper and cut it into evenish strips of about 13 inches (the width of the paper) by two inches (my cut size). I then centered the paper up over the stitching lines and started pinning it in place. After I got the first strip in place, I lined up my ruler with the stitching line on both sides of the paper and then drew the stitching line onto the strip. Each subsequent strip would be overlapped about an inch or two and I’d line the ruler up with the drawn line to the left and the stitching line to the right.
After the entire row of gathering was papered, I lined up my needle to sew directly on the drawn line.
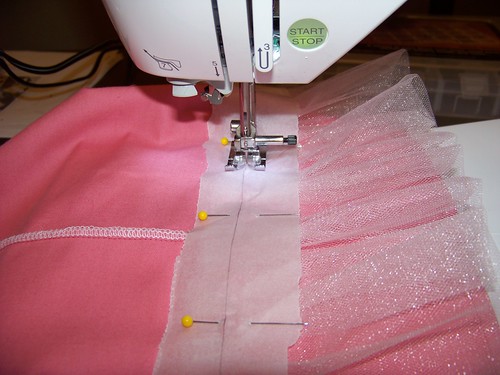
I sewed the drawn line and for good measure, I moved about 1/8 inch toward the edge and sewed a second line.
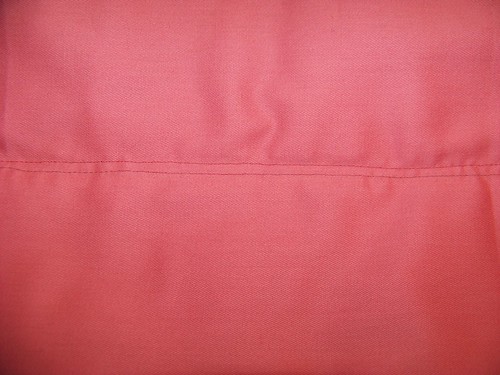
My last step was to carefully remove the strips of paper from the stitching lines. I had used a fairly close stitch length and some pretty flimsy paper, but if either of those factors had been different, I could have easily squirted or blotted a little water along the thread which would have weakened it enough to come off without any ripping problems. As it was, it came out really nicely and didn’t take too long to remove. My end product was a really nice ruffle that is evenly gathered.
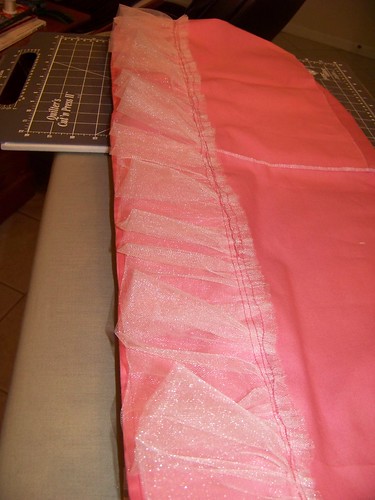
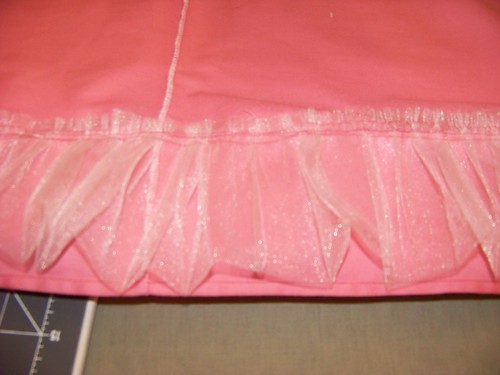
Twirl time!
All told, this probably added about 20-30 minutes to the project, but the benefits of doing it add immeasurably to my happiness! I’ll be using this again when I attach the skirt to the bodice and pretty much anywhere else I think of adding ruffles!
1 comment:
Wow, thank you for figuring this out and sharing! I was having the same problem with ruffles and horizontal pleats, and I was getting to the point that I just hated them. But this really works, I'm using it on my current project now and I love it.
Thanks again!
Post a Comment